Утечка неполагетельных облицовки для дормеров: установка и уход
Why Dormer Cladding Develops Problems
Composite cladding for dormers is exposed to strong weather variation because the dormer projects from the main roof and often receives direct rain, wind and sunlight from several directions. The upper face may heat quickly during the day, while shaded junctions remain damp. This movement is normal for outdoor WPC, but installation faults can turn small dimensional changes into bowing, open joints or damaged fixings.
Begin troubleshooting with a full inspection of the wall structure, boards, clips, trims and drainage paths. Check whether the substrate is flat and sound, whether the ventilation cavity remains open, and whether water can escape at the lower edge. Staining beneath a joint usually indicates poor drainage or an unsealed penetration rather than a defect in the WPC profile itself. Record the location, weather exposure and board direction before removing any material.
Correct Substrate and Ventilation Details
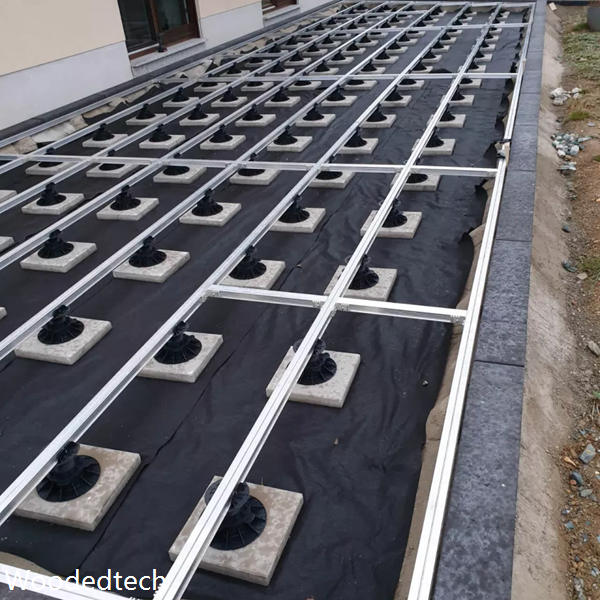
A dormer requires a stable, weather-resistant backing system before cladding is installed. Uneven battens can transfer stress into the boards, so use a straight, dry and securely fixed support grid with spacing recommended by the product supplier. Around windows, corners and roof junctions, battens should provide continuous fixing support without blocking flashing or membrane details.
Outdoor WPC needs an air gap behind the cladding to reduce trapped moisture and heat accumulation. Ventilation openings should be protected against insects while remaining clear at the bottom and top of the elevation. Do not fill the cavity with insulation, sealant or expanding foam. If boards feel unusually hot, retain moisture or show mould at the lower edge, inspect the airflow before replacing the visible surface.
Board Gaps, Fasteners and Thermal Movement
Many installation complaints originate from insufficient end gaps. Composite boards expand and contract with temperature, so allow the specified clearance at board ends, corners, window reveals and trim connections. The required gap depends on board length, installation temperature and the manufacturer’s profile. Boards installed tightly together during cool weather may buckle after summer heating.
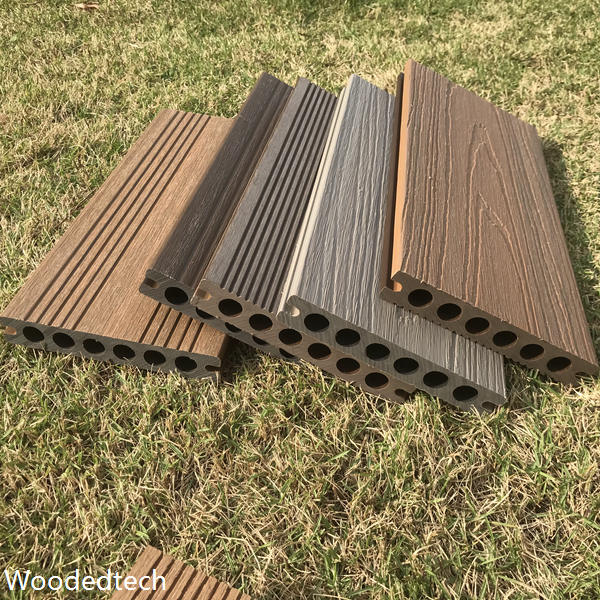
Use the approved stainless steel clips, screws and starting profiles for the system. Over-tightening can restrict movement and crack a fixing point, while loose fasteners can create vibration and rattling in windy locations. Pre-drill near board ends where the installation manual requires it, and stagger joints so that adjacent rows do not create a weak vertical line. Replace distorted clips rather than forcing boards back into position.
Water Management Around Windows and Roofs
Dormer windows demand careful coordination between cladding and flashing. The sill should project water away from the wall, and side flashings must remain continuous behind or beside the cladding trim according to the building design. Never rely on surface sealant as the primary defence against rain. Sealant may weather, separate from the substrate or conceal a blocked drainage route.
At the roof intersection, keep the cladding clear of lead, membrane and flashing movement zones. Cut boards accurately, but leave the expansion space specified for the system and protect exposed edges with suitable trims. After installation, test the area with controlled water rather than a high-pressure jet. Water entering the cavity should drain down and out without collecting behind the dormer face.
Care and Cleaning for Long-Term Appearance
Routine care is straightforward when the drainage and ventilation details are correct. Remove leaves, soil and bird deposits with a soft brush, clean water and a mild household detergent. Rinse from top to bottom, particularly beneath window sills and along lower trims. Avoid abrasive pads, solvent cleaners, strong bleach and pressure washing at close range, since these can mark the surface or force water behind the boards.
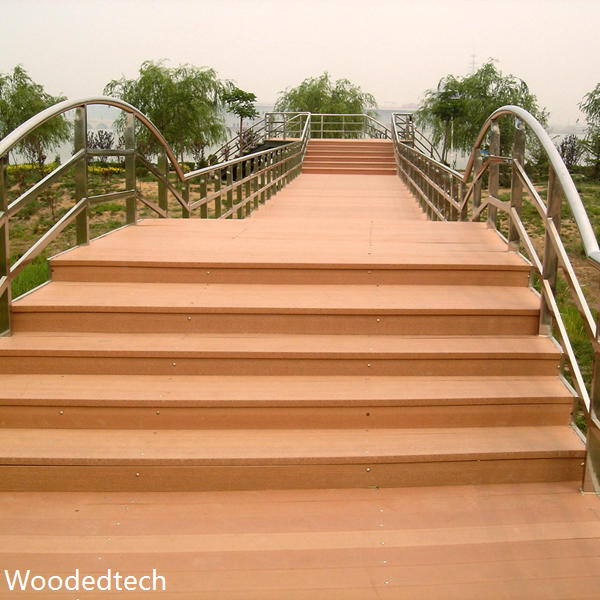
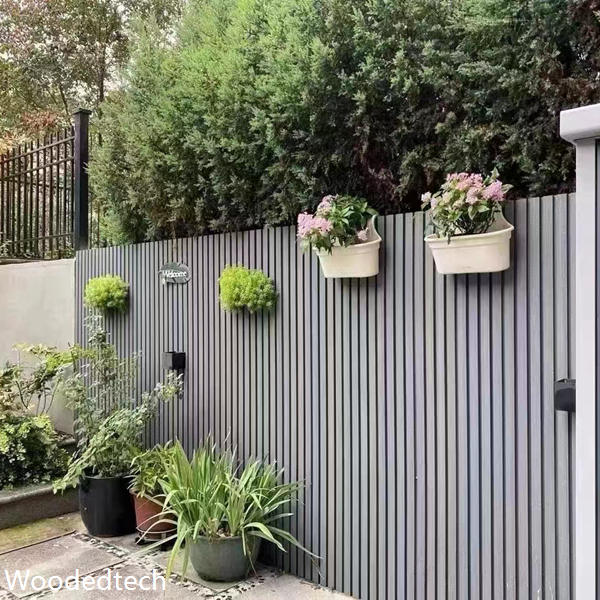
Outdoor WPC is suitable for more than dormer elevations. It can provide durable wall finishes in residential gardens, commercial landscapes, hotels, parks, balconies, swimming pool areas and public facilities. Near pools, use profiles and fixings rated for persistent moisture, keep splash zones well drained and confirm that the chosen surface meets local slip and fire requirements where people may touch or pass close to it.
Application Checks Before Handover
For architects, installers and project managers, inspect a completed dormer in three stages: before boarding, during fixing and after trimming. Confirm the cavity, membrane, flashing and fixing layout before the first board covers them. During installation, check line, level, joint clearance and clip engagement at regular intervals. At handover, photograph corners, window junctions and drainage outlets so future maintenance teams have a clear reference.
Outdoor WPC should be selected according to exposure, span, colour stability, impact demand and cleaning conditions, not appearance alone. An application engineer can match the profile to the building envelope and advise on corner details, replacement access and after-sales inspection intervals. Correct detailing gives composite cladding for dormers a stable, clean appearance while allowing the material to perform naturally through seasonal weather changes.