Selezione Di Un Business WPC Affidabile Attraverso La Due Diligence Di Fabbrica E Fornitore
Check the WPC Supplier Before Site Work Begins
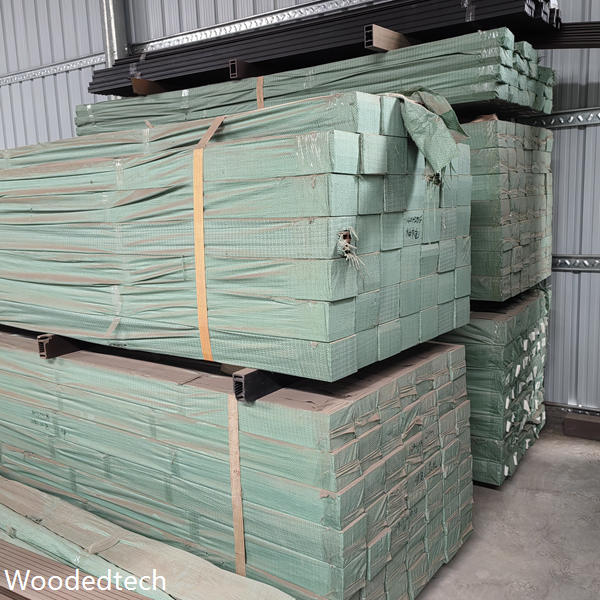
A reliable WPC business should be assessed before any boards arrive on site. Ask for current technical data covering board dimensions, hollow or solid construction, load limits, colour variation, fire performance and recommended fixing accessories. A serious factory should provide clear installation drawings rather than vague claims about universal compatibility. Review production capacity, extrusion equipment, moisture control, packaging standards and inspection records. Factory photographs are useful, but a live video inspection or independent factory visit gives stronger evidence of how materials are made and checked.
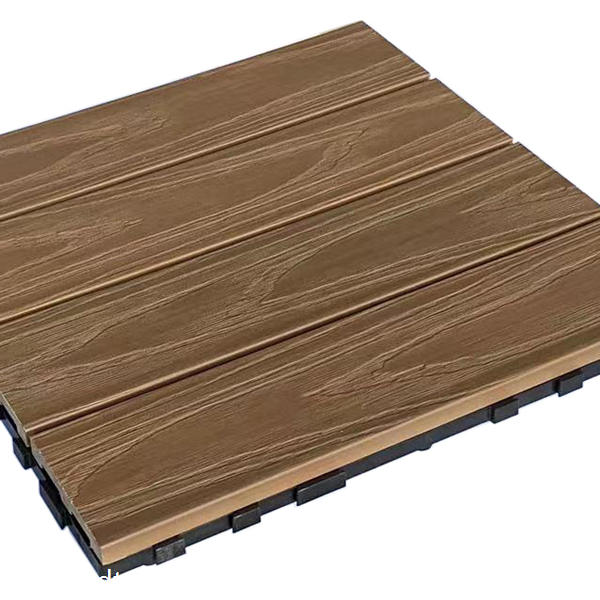
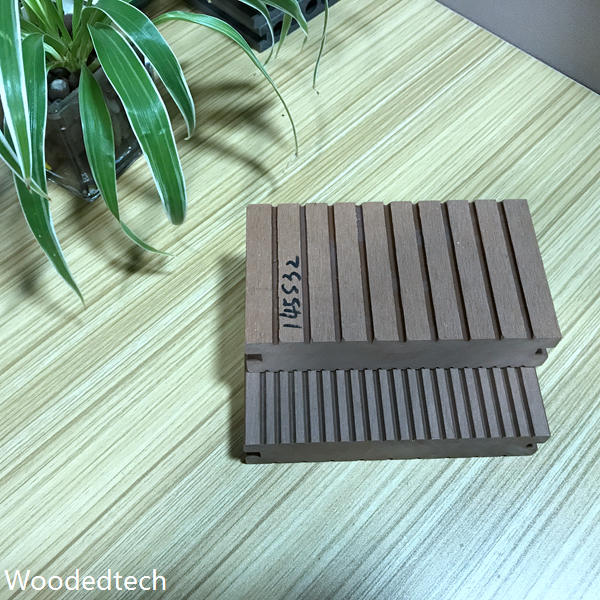
Request samples from different production batches and compare their colour, surface texture, dimensions and edge quality. Check whether the quoted decking, clips, screws and subframe components are designed to work together. For larger projects, confirm lead times, replacement board policy and after-sales technical support in writing. This early due diligence protects the installation from mismatched profiles, missing accessories and boards that perform differently from the approved sample.
Prepare the Ground and Subframe Correctly
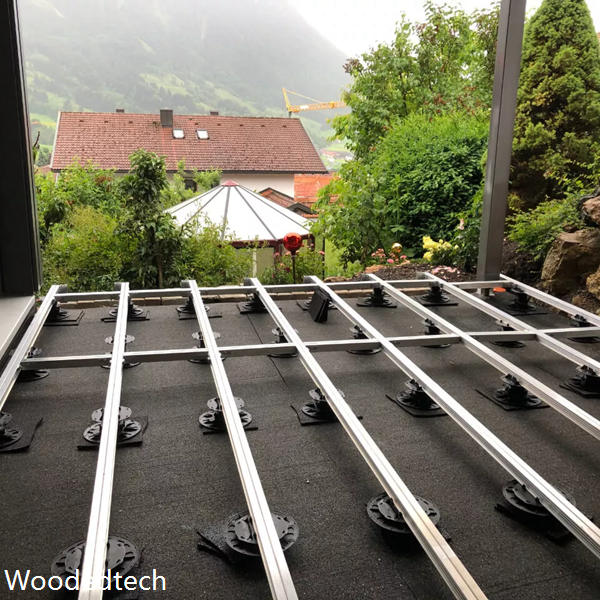
Begin by checking levels, drainage and the condition of the supporting surface. A concrete base should be stable, clean and free from standing water. On soil or an uneven area, use suitable foundations, paving slabs or adjustable supports designed for the expected load. Keep the finished deck clear of poor drainage zones, and plan a slight fall away from buildings where the site allows it. Never lay WPC decking directly on earth or concrete because trapped moisture and restricted ventilation can shorten its service life.
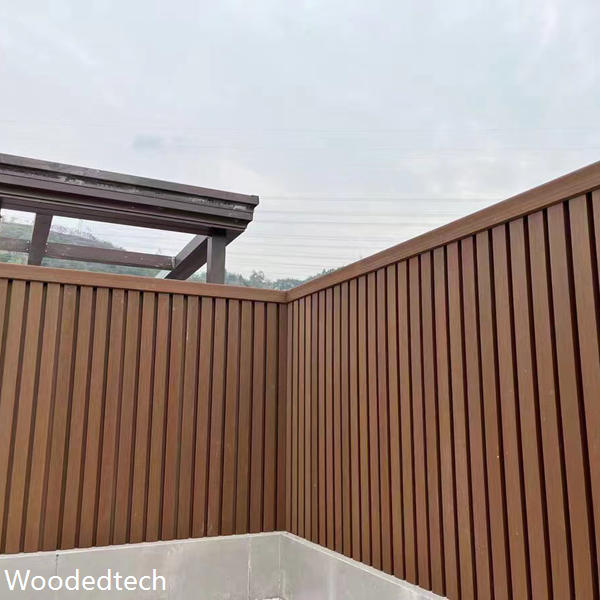
Install the subframe with treated timber, aluminium or the profile specified by the supplier. Joists must be level, securely supported and spaced according to the board manufacturer’s instructions, commonly around 300 to 400 millimetres for residential decking, with closer centres for heavier loads or diagonal layouts. Double the joists beneath board ends and around access hatches. Fix the frame firmly, while leaving room for drainage and airflow. For wall cladding, install vertical or horizontal battens over a sound wall, maintain a ventilated cavity and set the battens accurately so the finished surface does not follow defects in the background.
Install Boards with Controlled Expansion Gaps
Store boards flat, supported along their length, and allow them to acclimatise close to the installation area. Start decking from the straightest visible edge using the manufacturer’s starter clips. Position each board with the recommended side gap, usually controlled by hidden clips, and use stainless steel screws where face fixing is specified. Do not overtighten screws, as this can deform the board or damage the fixing point. At butt joints, use a double joist arrangement and the approved connector so each board end is independently supported.
Leave expansion gaps at board ends, edges, corners and around fixed structures. The required clearance depends on board length, temperature and the product formulation, so the supplier’s table should take priority over general practice. Long runs may need staggered joints or expansion breaks. For wall cladding, use the correct clips or visible fasteners for the profile, keep joints aligned, and leave ventilation openings at the base and top of the cavity. Fit trims only after checking that they do not block drainage or prevent normal movement.
Cut and Fix WPC Without Damaging the Profile
Measure every board before cutting, particularly around posts, steps, drains and door thresholds. Use a sharp carbide tipped saw blade and support the board close to the cutting line to reduce vibration. Cut slowly and wear eye, hearing and respiratory protection because composite dust can be irritating. Remove burrs with a fine file, then seal exposed hollow ends with the approved end cap or trim. Avoid forcing a board into a tight opening. A neat installation includes clearance for movement and enough room for water to escape.
Keep fasteners square to the joist or batten and predrill near board ends if the manufacturer’s system requires it. Do not mix clips from different suppliers, since small differences in height or locking shape can create uneven joints. During cladding work, check alignment after every few rows with a level and string line. Correcting a small deviation early is much easier than dismantling an entire wall. Record the batch number and installation date for handover documents, especially on commercial or export projects.
Maintain the Finished Surface and Review Supplier Support
Routine maintenance is straightforward but should begin immediately after installation. Sweep away leaves and grit, then wash the surface with warm water and a mild household detergent. Clean spills promptly, brushing in the direction of the embossed grain. Do not use aggressive solvents, wire brushes or high pressure directly against the surface. Move planters and furniture occasionally so moisture and debris do not remain trapped. Inspect fixing points, trims, drainage routes and cladding ventilation at least twice a year.
A dependable WPC business remains available after delivery, providing replacement parts, cleaning guidance and a clear response process for defects. Keep the approved installation manual, product batch details and photographs of concealed subframe work. These records help separate installation issues from manufacturing problems and make future repairs faster. Good preparation, controlled movement, accurate cutting and disciplined maintenance give decking and wall cladding the stable appearance and service life expected from a professional outdoor system.