How To Install Composite Deck Tiles On The Ground For Commercial Projects
Ground Conditions Set the Design Brief
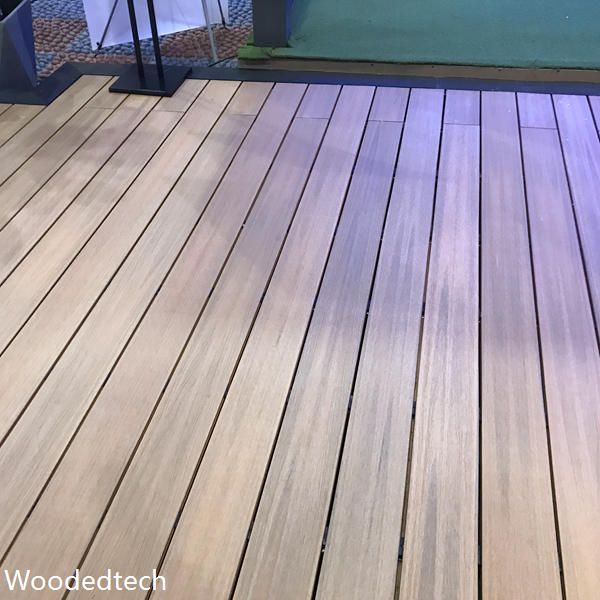
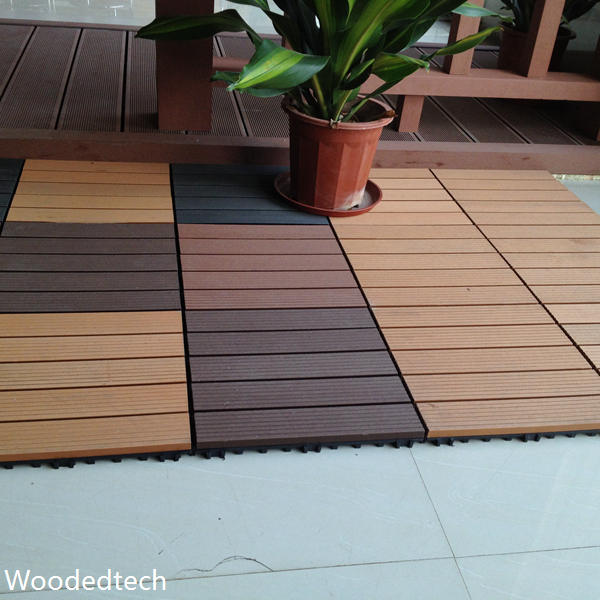
Commercial composite deck tiles are only as reliable as the surface beneath them. Before deciding how to install composite deck tiles on the ground, inspect the site for standing water, settlement, tree roots, drainage routes and changes in level. A concrete slab should be sound, clean and adequately drained. For soil, a compacted sub-base of crushed stone is normally required, followed by a level bedding layer that prevents the support system from rocking under repeated foot traffic.
As a WPC extrusion mold design engineer, I treat the installation surface and the tile geometry as one system. A tile may look attractive in a showroom, yet fail outdoors if its underside cannot accommodate slight irregularities or if its supports trap water. Commercial projects need consistent module dimensions, controlled tolerances and an underside that allows installers to create a stable, repeatable field without excessive cutting.
Profile Geometry Controls Load Performance
The profile design determines how efficiently a WPC tile carries people, furniture and occasional maintenance equipment. Solid structures provide a continuous cross section with dependable resistance to local impact. They are suitable for busy entrances, hospitality terraces and areas where concentrated loads may occur. Their disadvantages are higher material consumption, greater weight and a longer heating and cooling cycle during extrusion, all of which affect transport and manufacturing cost.
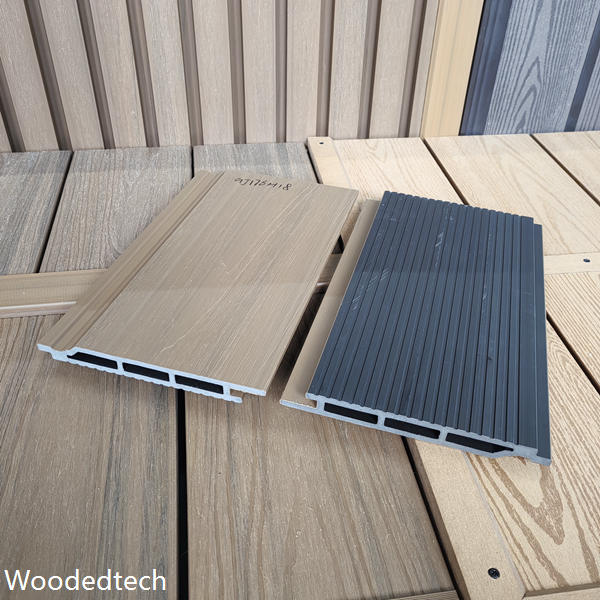
Hollow structures reduce resin and wood fibre usage while making large quantities easier to handle. Internal chambers must be positioned carefully, because thin upper walls can flex or dent if the cavity is too large. A well-designed hollow profile uses balanced wall thickness, sufficient corner radii and internal webs that transfer load towards the support points. Poorly balanced cavities may also create uneven cooling, leading to distortion that makes tiles difficult to align during installation.
Ribs, Webs and Underside Support
Rib design has a direct effect on stiffness, drainage and installation speed. Longitudinal ribs can increase bending resistance without adding a full solid mass, while transverse webs can prevent the profile from twisting. The spacing must match the tile span and the pedestal or base grid below it. If ribs sit away from the actual support locations, the tile may feel springy even though its laboratory strength appears satisfactory.
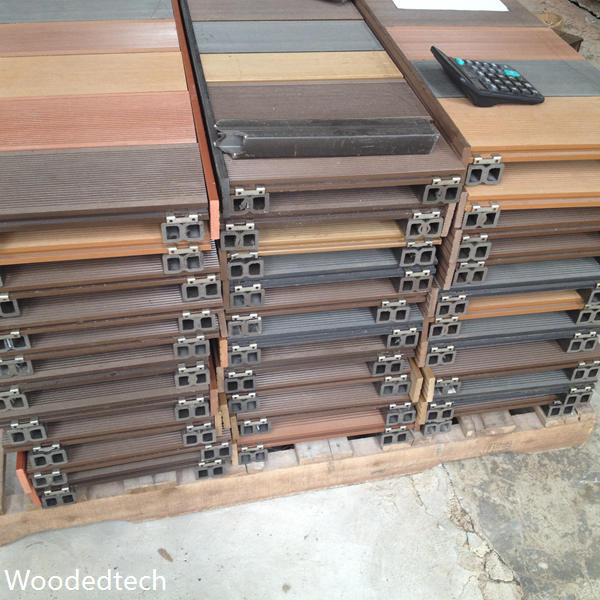
The underside should also include practical registration features. Recesses can accept connector clips, drainage channels or an interlocking base, but they must not create fragile thin sections. For ground level applications, open drainage paths are valuable because they allow rainwater and cleaning water to escape. Edges need enough bearing area to avoid point loading, particularly where neighbouring tiles meet and movement from temperature changes is concentrated.
Surface Patterns Affect Safety and Cost
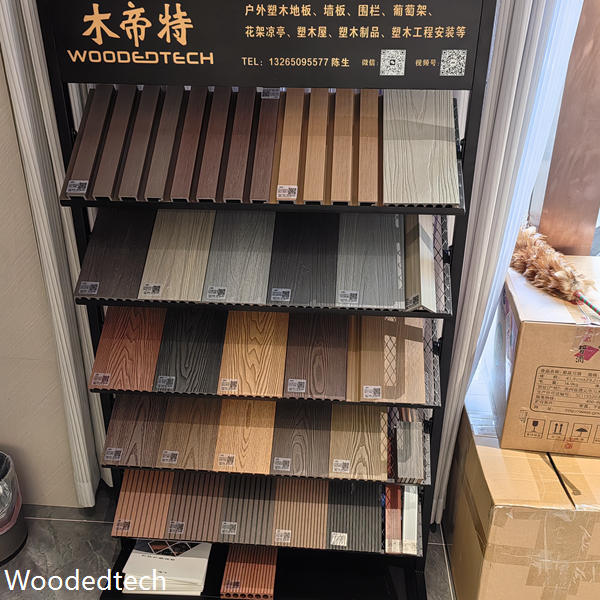
Surface texture is more than a visual finish. A fine embossed grain can improve slip resistance and disguise minor scratches, while a deep wood pattern may collect dirt and require more cleaning in commercial settings. Mold texture also influences release force, cooling behaviour and cycle time. Sharp recesses are harder to fill consistently with a wood plastic composite compound and may produce weak edges or visible variation between production batches.
For an outdoor project, I generally recommend a controlled texture with rounded transitions and a defined drainage direction. Brushed, coextruded or two-tone surfaces can create a premium appearance, but each added process increases tooling, inspection and replacement costs. Colour stability, thermal expansion and surface temperature should be checked alongside appearance, especially on exposed decks where dark profiles can become significantly hotter than pale ones.
Installation Efficiency Starts in the Mold
Tile size should reflect the handling capacity of the installation team. Larger modules cover ground quickly and reduce joints, but they are heavier and less forgiving on uneven bases. Smaller tiles are easier to carry through restricted access routes and can follow complex layouts, although they create more connection points and increase alignment work. Consistent edge dimensions are essential, since even small deviations accumulate across a large commercial terrace.
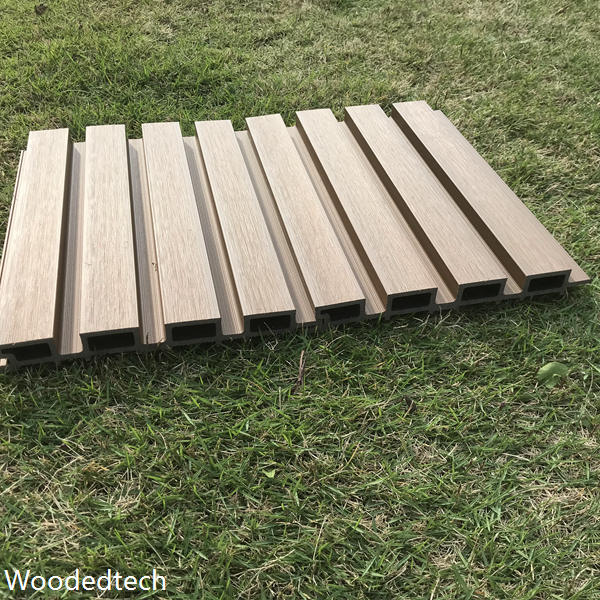
Connector geometry must hold tiles firmly without preventing normal expansion and contraction. Clip pockets should be strong enough to resist repeated footfall but accessible with ordinary installation tools. A defined expansion allowance at perimeter walls, drains and fixed columns prevents buckling. The finished system should also permit individual tiles to be lifted for inspection or utility access, which is particularly valuable in retail, hospitality and public realm projects.
Quality Checks Before Site Delivery
Factory inspection should cover tile length, width, thickness, squareness, rib position, surface consistency and connector fit. Weight checks can reveal changes in hollow wall thickness or compound feeding before they become visible defects. Samples should undergo loading, slip, water exposure and thermal cycling tests that reflect the intended project conditions rather than relying only on nominal profile data.
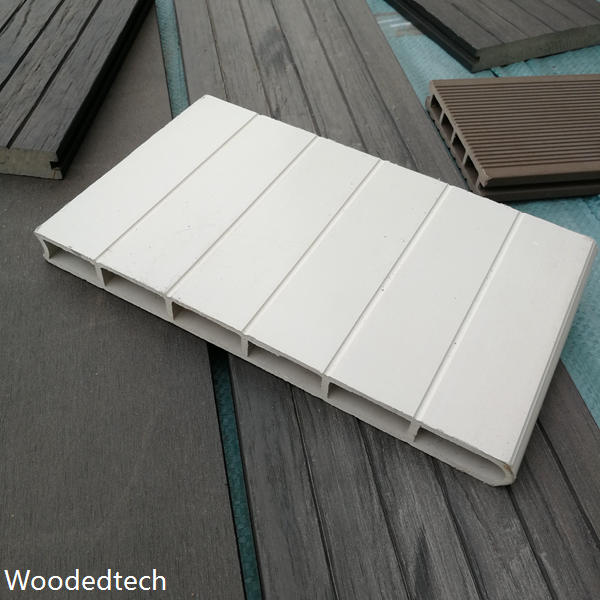
Site teams should receive a layout drawing showing the base preparation, drainage direction, perimeter gaps, cutting zones and replacement procedure. When profile geometry, mold accuracy and ground preparation are specified together, composite deck tiles can deliver stable performance with controlled labour and material costs. That coordination is the practical foundation for durable commercial WPC flooring.