WPC Box Bauer: Lecciones De Fábrica De Guangdong De Diez Años De Fabricación
Set Out the Deck and Check the Site
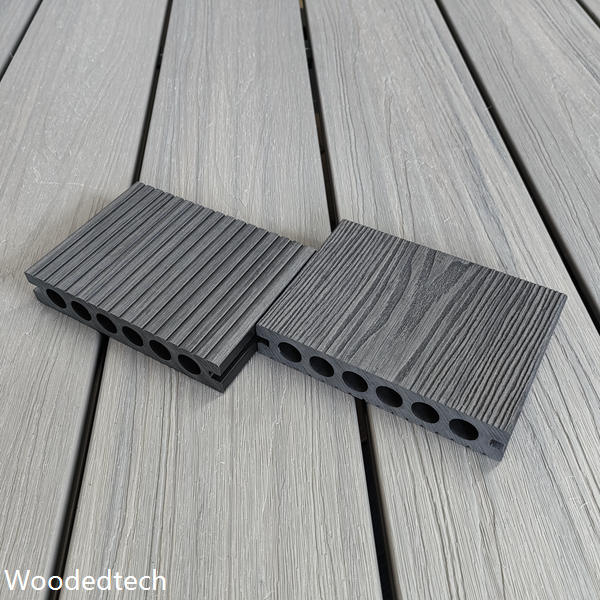
A deck that looks straight on day one can move or trap water by its first winter. I start by checking the substrate, finished height, drainage route and the direction of the boards. On a Guangdong factory project, I also check the supplied profile drawing against the boards in the delivery. Hollow and solid WPC profiles may need different support centres, clips and edge details. The same check matters for a small outdoor enclosure described as wpc box bauen: its deck, sides and access panels must all have room to drain and move.
Mark the finished deck level and allow for board thickness, joist depth and any adjustable supports. Keep WPC clear of standing water and soil. A concrete base should be sound and fall towards an outlet; paving slabs or pads must sit firmly without rocking. Before covering the area, locate door thresholds, drains and inspection points. Do not build over an outlet that a maintenance team will need to reach.
Build a Stable, Drained Subframe
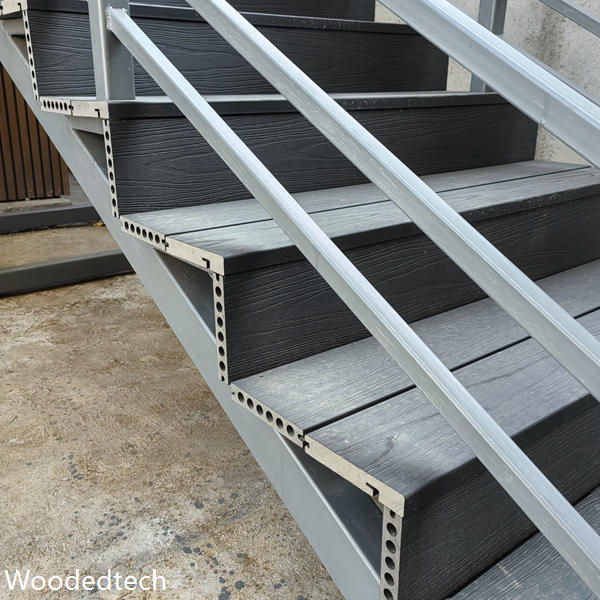
Set joists at the spacing specified for the exact board and expected load. Many residential systems use centres around 300 to 400 mm, but stairs, diagonal layouts and commercial traffic may require closer supports. Fix or restrain the subframe as the system design requires, and use corrosion resistant brackets and fasteners suitable for the site. Never assume a WPC decking board can span between widely spaced supports simply because it feels stiff in your hand.
Keep the joists level across the walking surface while preserving drainage beneath them. Where timber is permitted, use appropriately treated structural timber and separate it from persistently wet concrete. Aluminium subframes need compatible fixings and allowance for their own thermal movement. Add doubled joists wherever board ends meet so each end has independent support and fixing. Leave ventilation at the perimeter, particularly around a boxed enclosure where closed sides can hold damp air beneath the deck.
Cut and Fix the Decking Boards
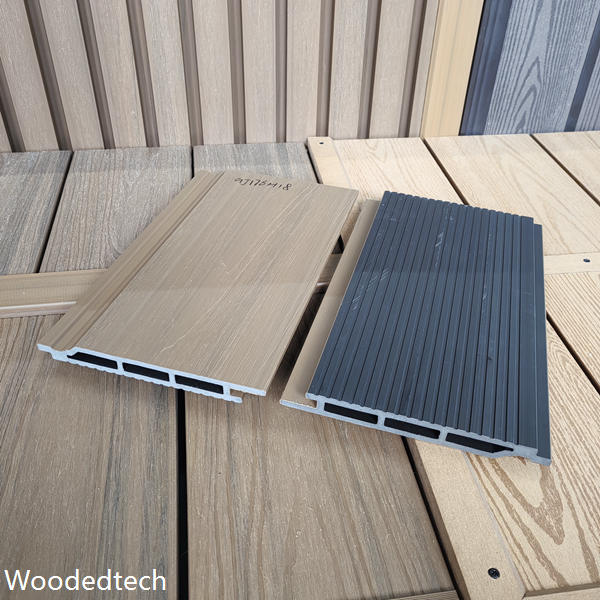
Store boards flat and shaded until installation, then measure from a consistent datum. Use a sharp, fine toothed blade suited to composites, support the board close to the cut and wear eye protection and a dust mask. Make a trial cut on an offcut before trimming visible edges. Cut ends should be square and clean; exposed hollow chambers need the manufacturer’s approved end cap or trim detail without blocking drainage.
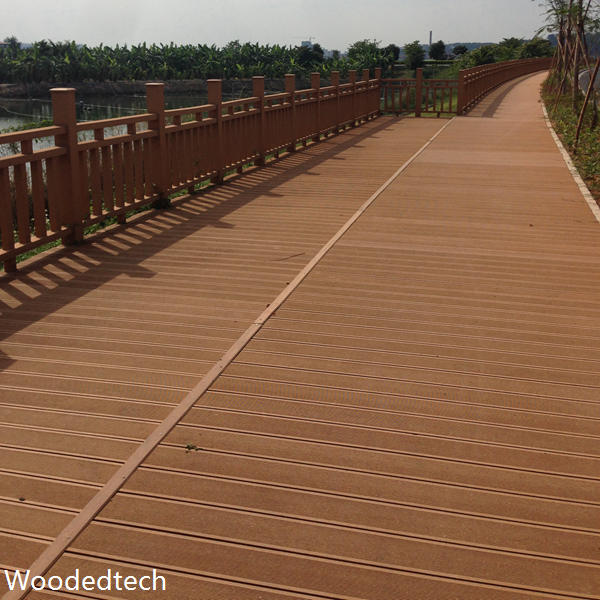
Install the starter fixing first, then work across the deck with the matching clips and screws. Drive screws squarely and avoid overtightening, which can distort clips or crack a profile. At butt joints, use the specified end gap and separate clips on doubled joists. Follow the supplier’s temperature dependent gap chart for board ends, walls and fixed posts: a gap suitable on a hot Guangdong afternoon may be too narrow for boards fitted on a cold morning elsewhere. Keep the designed side gap open for drainage.
Prepare and Install Wall Cladding
Cladding needs its own straight, secure battens or rails, fixed back to a suitable wall structure. Check the wall for leaks before covering it, and provide a ventilated cavity with a route for water to escape at the bottom. Fit insect screening where required without sealing the airflow. Set rail spacing to the cladding profile’s installation guide and reinforce areas around openings, corners and accessories. Cladding is a finish, not a substitute for the wall’s weatherproofing layer.
Start from a level reference and use the specified starter trim or concealed fixings. Keep fasteners in the approved fixing zones; screws through a thin face can split it as the profile expands. Allow movement at vertical ends, corners and window frames, and follow the system detail for long runs. Cut each piece after checking the opening, rather than relying on repeated measurements from an uneven wall. Finish corners neatly, but leave weep paths clear and avoid sealing the bottom edge with a continuous bead of silicone.
Inspect Movement Gaps and Maintain the Finish
Before handover, walk the deck and look for rocking boards, proud screw heads and clips that missed a joist. Check that doors swing freely, drainage outlets remain accessible and every perimeter gap is open. On cladding, inspect the first and last courses, cut edges and clearances around fixtures. Record the installed profile, batch and fixing system so replacement boards can be matched later. Photographs of the subframe before it is covered are useful evidence for factory teams and after-sales engineers.
Clean WPC with water, a soft brush and a mild cleaner recommended by the supplier. Clear leaves from deck gaps and remove debris from the cladding cavity openings, especially after storms. Avoid aggressive solvents, wire brushes and pressure washing at close range. Planters should stand on feet so trapped moisture cannot stain the surface. Inspect fixings and support points periodically, and replace a damaged board with the matching clip method rather than forcing it out and disturbing the boards beside it.