Composite Railing With Metal Balusters: Export Packaging For Safe Ocean Transport
Pack for the Installation Sequence
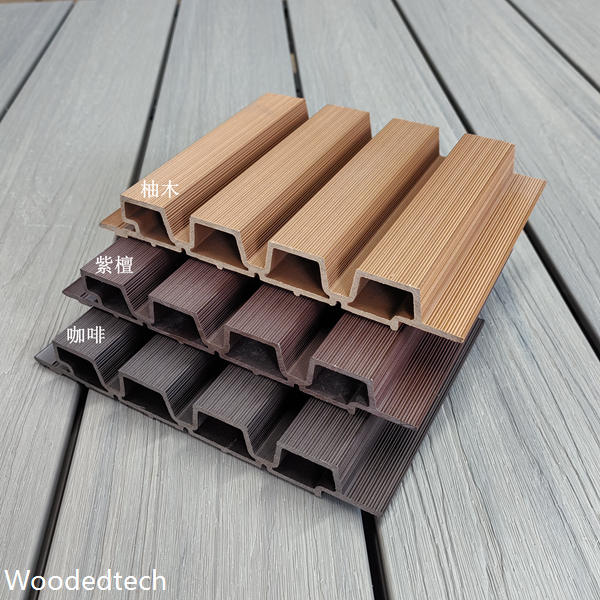
Safe ocean transport starts with the order in which materials will be used on site. I ask suppliers to pack decking boards, wall cladding, subframe components and composite railing with metal balusters in clearly labelled bundles. Each label should identify the profile, colour, length, quantity and project area. That lets the receiving crew move materials directly to a dry staging area without opening every pack or dragging finished faces across the ground.
Boards need a flat, supported base and waterproof wrapping that still allows condensation to escape. Use edge protectors beneath straps, and separate painted metal balusters from composite profiles with soft interleaving. Fixings, clips and trim should travel in sealed, labelled cartons secured inside the crate. A packing list showing bundle numbers helps identify shortages before installation begins. Photographs taken before container loading also make transit damage easier to distinguish from handling damage at the destination.
Check the Delivery and Prepare the Subframe
Before fitting anything, compare the delivered bundles with the packing list and inspect for crushed corners, bent balusters and wet cartons. Keep boards off bare soil on level bearers, under cover, until needed. Do not assume a board that arrived bowed is fit for installation; lay it on a flat surface and check it against the supplier’s tolerance. Record any damage before removing protective wrapping or distributing stock around the site.
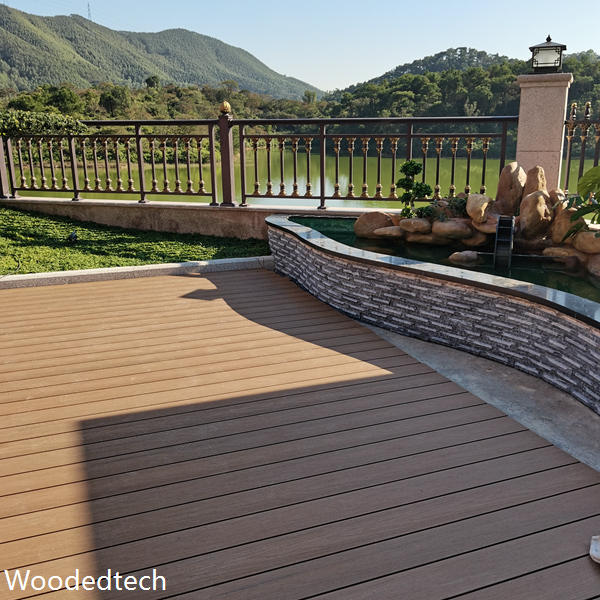
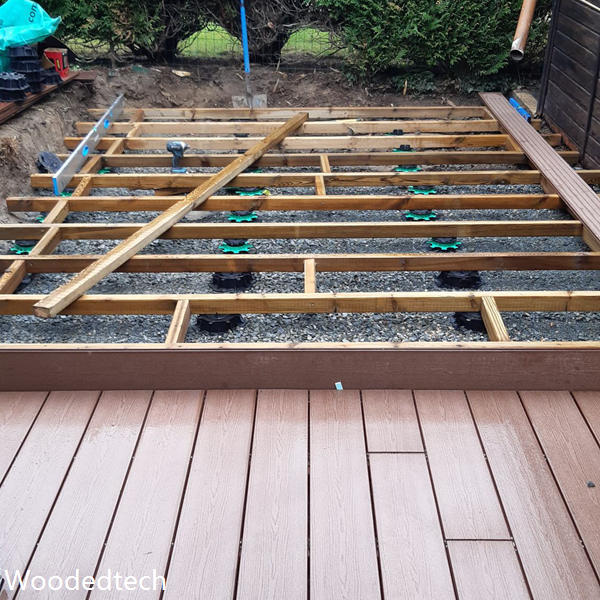
For decking, confirm that the base drains away from the building and that the specified ventilation space remains clear. Set joists to the manufacturer’s centres, reducing the spacing where loads, diagonal board layouts or local requirements demand it. Fix the subframe securely, check it is level, and provide extra support under board ends and perimeter details. For wall cladding, install straight battens over a suitable weather barrier, leaving the designed drainage and ventilation path unobstructed.
Cut and Fix the Decking Boards
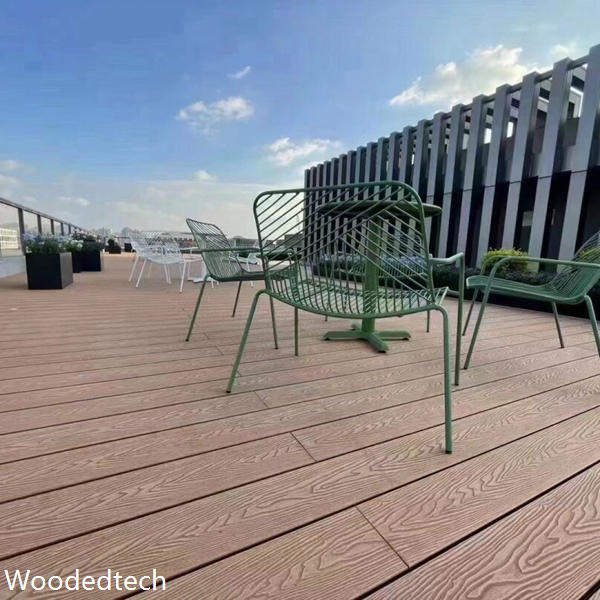
Measure from a fixed datum, then mark boards with a square so cut ends remain clean at trims and steps. A sharp, fine-tooth carbide blade gives a neater cut than a worn general-purpose blade. Support long lengths on both sides of the saw and remove swarf promptly, particularly near coated balusters. Seal or finish cut ends only where the product instructions require it. Check colour and grain direction before cutting several boards to the same length.
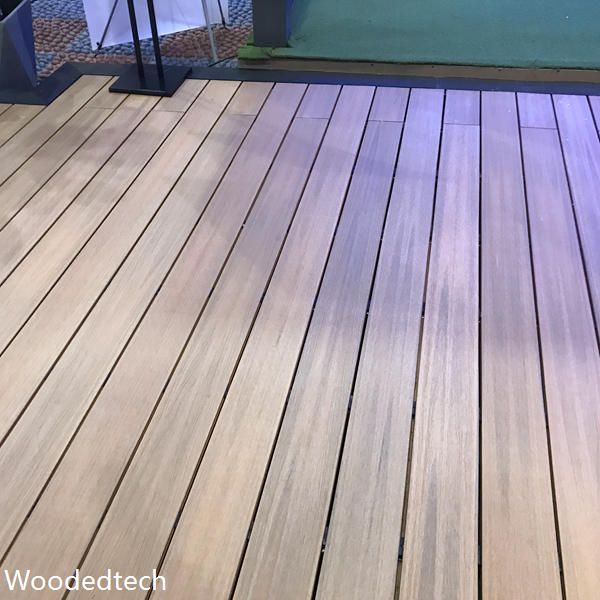
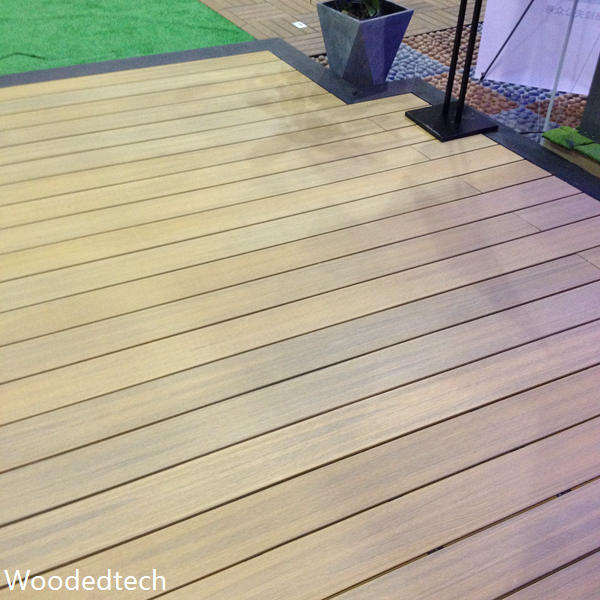
Start with the specified starter clips or approved face fixings, then fasten each board at every supporting joist. Use the clips supplied for that profile rather than substituting a screw that may restrict movement. Leave the prescribed side and end gaps, allowing for board temperature during fitting and the supplier’s expansion figures. End joints need their own support and fixing points. Keep perimeter clearance at walls, posts and drainage outlets instead of forcing the final board tight against them.
Install Wall Cladding and Railing Components
Set the first cladding course accurately because small errors become obvious across a broad wall. Fix boards to every batten using the approved concealed clips or screws, keeping the stated spacing at board ends, corners and openings. Provide a clear route for water to drain from the cavity. At windows and doors, cut neatly and fit compatible flashings before closing the edges with trims. Never block the ventilation gap with sealant or offcuts.
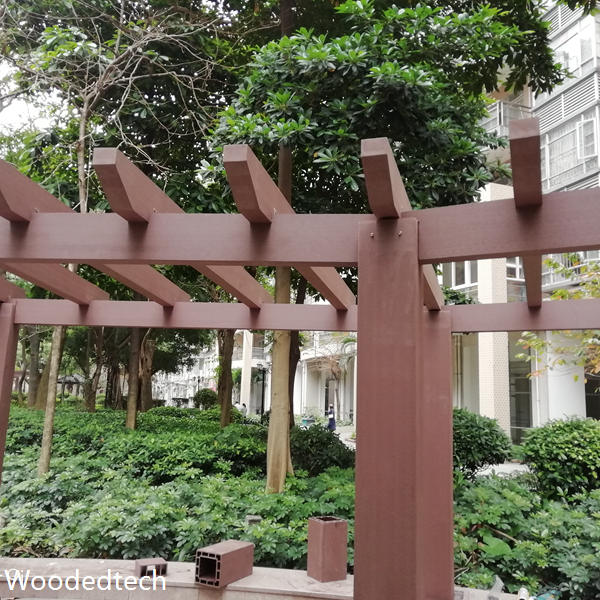
Railing posts must connect to the structural frame or another engineered fixing point, not to decking boards alone. Check post alignment and the applicable guard height and opening rules before fitting rails. On composite railing with metal balusters, protect coated surfaces while cutting and assembling, and use the specified connectors so metals do not damage adjacent components. Leave the manufacturer’s movement allowance at rail ends. Tighten fixings to the stated torque, then check that every baluster is seated and the completed guard is firm.
Protect the Finished Work
Remove packaging progressively rather than stripping the whole shipment at once. Keep spare boards flat and labelled, and retain a small quantity from the same production batch for future repairs. Once installation is complete, clear sawdust from gaps and drainage channels, wash surfaces with mild detergent and water, and inspect for loose clips or exposed fasteners. Avoid abrasive tools and pressure washing at close range, especially around cladding joints and railing finishes.
Give the owner the fixing schedule, product care instructions and a record of any damaged items replaced after delivery. I recommend checking the deck’s drainage, cladding ventilation openings and railing connections after the first seasonal temperature change, then at regular maintenance visits. Those checks are easier when export bundles have been identified properly from the outset: installers can trace each profile and fitting, use the correct replacement parts and keep the completed system performing as designed.